- Click here to go back to the main Chapter 6 walkthrough page.
Introduction[]
The main Chapter 6 walkthrough recommends building massive layers of walls to block yourself in. This page details an alternate strategy involving more traditional military combat where you engage Lucius's troops. It explains how to finish the chapter and complete all quests and obtain the achievement Man the battlements!.
This guide will not explain the quests that appear through the chapter, but will refer to them when needed. For a detailed walkthrough on this chapter and its quests, see the complete walkthrough Chapter 6: Caught in a trap.
Also, some parts in this guide that describe a production chain or management may be similar to those of the walkthrough guide. They are included anyhow as they are vital to the strategy used in this strategy guide.
Starting the chapter: preparations[]
Exploration[]
Set sail[]
It will be a big advantage to let the flagship set out across the map now, since Kardinal Lucius is still preparing to set up his base of operations and it will take 15 minutes before he starts to act.
Expand the fleet
Also create a Small warship and let it sail around the map as well to fully explore the chart, which will make sure that most hidden quests get automatically triggered when they are activated.
Production[]
Lumberjack’s hut[]
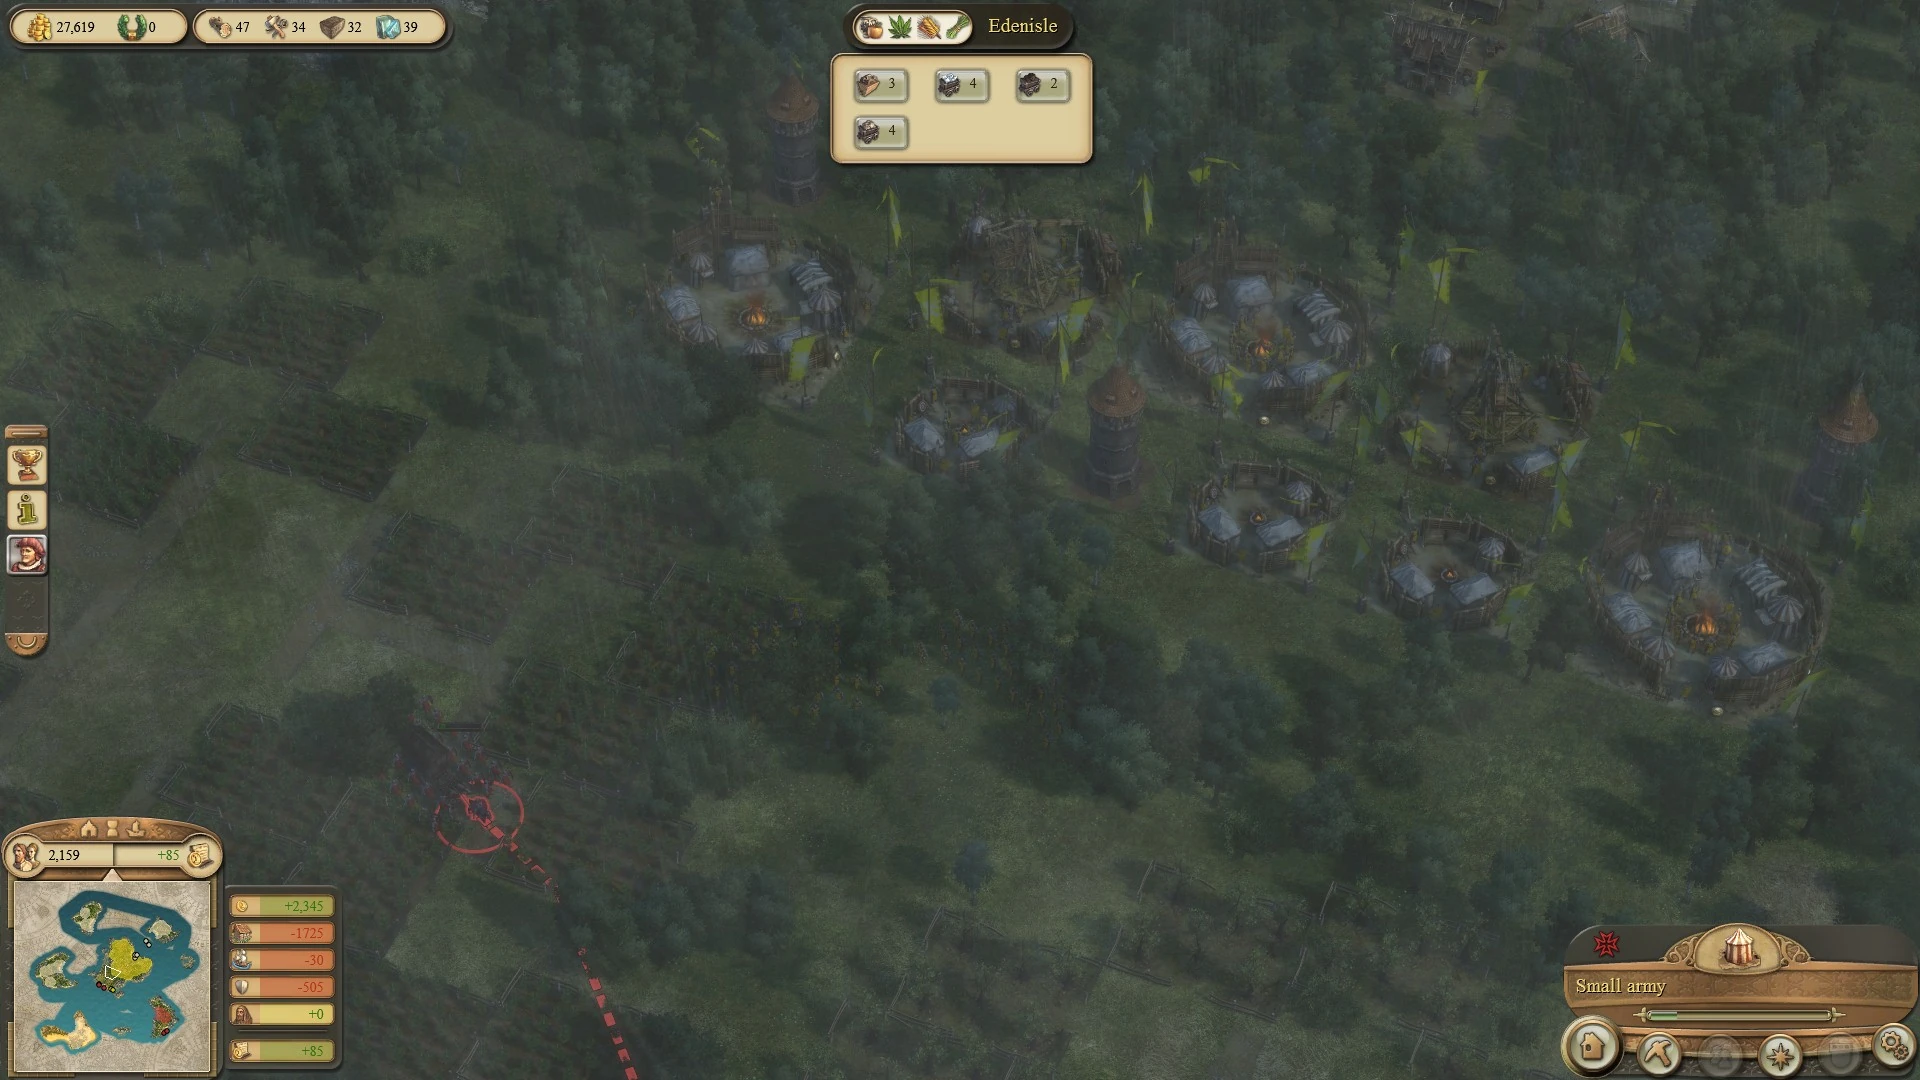
Set up at least 2 to 3 extra Lumberjack's huts on the northeast side of Edenisle as wood is necessary for the War Machines production chain, as well for placing buildings later on and creating ships.
Weapon smithy[]
Although there are 2 Weapon smithies, 1 has been shut down from production. It is advised to allow all Weapon smithy’s to start producing more Weapons.
Stonemason's hut[]
Make sure that Stone is manufactured by placing at least 1 Stonemason's hut to secure this production since no massive wall building is needed, but it will be needed for a few quests.
Ropeyard[]
It would be wise to also build another Ropeyard to ensure that more Ropes will be produced. If more Hemp is required, build 2 more Hemp plantations.
Monastery brewery[]
Looking at the present production chains on Edenisle it may have come to notice that there are 10 Crop farms and 2 Monastery breweries, but no Monastery gardens at all and thus no possible ‘homemade’ production chain for Beer. The storage will show a very small and declining stock of Herbs and Marie d’Artois provides small deliveries of 5 tons of Herbs each time through 1 of her small trading ships that comes and goes, but it will definitely not be enough to secure the production of Beer throughout this chapter.
Place a Small market building below the Crop farms and place close to it 2 Monastery gardens to secure the supply of Herbs, after which you have to build an additional Monastery brewery. Consider the supply of Beer secured now and if Wheat starts to decline, it is advised to build at least 1 more Crop farm in the proximity of a Mill to keep the production of Bread secured as well.
Weaver's hut[]
While not necessary yet, it is advised to build an extra Weaver's hut and 2 additional Hemp Plantations close to the newly constructed Market building to secure the stock of Linen garments as they are important for the production of Provisions later on.
Inhabitants’ needs[]
Tax rate[]
Make sure that the taxation of all the inhabitant classes on Edenisle will be yellow, to ensure a larger revenue without making them unhappy or even enraged.
Consumables[]
Especially when playing this mission on Hard, the player starts with little money and there is an easy way to make money quickly for ships and/or encampments. To do so it is advised to disallow the following of the inhabitants’ needs as shown below:
- Peasants: None.
- Citizens: Fish.
- Patricians: Fish, Cider, Linen garments, Bread, Beer.
- Noblemen: Fish, Cider, Linen garments, Bread, Beer.
By doing this, the effect of disallowing some of the inhabitants’ needs provide the following advantages:
- The inhabitants won’t get enraged and it will still trigger the effect where the inhabitants get less products, but pay more tax and this will result in a higher revenue.
- Products which are not being consumed by the inhabitants can be used to produce Provisions or to buy Large military camps from the robber baron Barnabas with, but this last option is not supported by this guide.
Note that Leather jerkins might become scarce and since the inhabitants are living on the edge between inadequately satisfied and unhappy, it can be necessary to allow Linen garments to both Patricians and Noblemen. You will be notified whenever such situation occurs, though.
Quests[]

In order to achieve every quest and the achievement ‘Man the battlements’, it is important to follow the strategic steps in this strategy guide right after completing the quest Repair work!

Now that the preparations have been discussed and perhaps also made, it is time to focus on the quests that Marie d’Artois is providing. Even when improving some production chains, it is necessary to complete the early and easier quests up to ‘Repair work’. Also, don’t forget to keep an eye out to the ship(s) and let them keep sailing and exploring.
After the quest ‘Repair work’ there will be quests about further preparations which can be ignored for now to make the final touch on the production chains, so locate any military camp from now on to the north of the Cider farms right after completing the quest Defending the homeland.
Keep in mind that during this chapter Marie d’Artois will provide quests, so don’t worry when a quest appears during battle and just wait for those moments in between battles to pay attention to them then.
Starting the chapter: strategy[]
Getting started[]
Now, this guide has come at the point for which it originally was created: an alternate strategy for this chapter and will provide the necessary information required for a fine strategy to ward off Kardinal Lucius effectively, maintaining the dominant force on Edenisle for as long as needed. All the changes that were applied in the previous parts of this guide were necessary to ensure that the following strategy can be applied without any worries, so this chapter can be completed without missing a single quest.
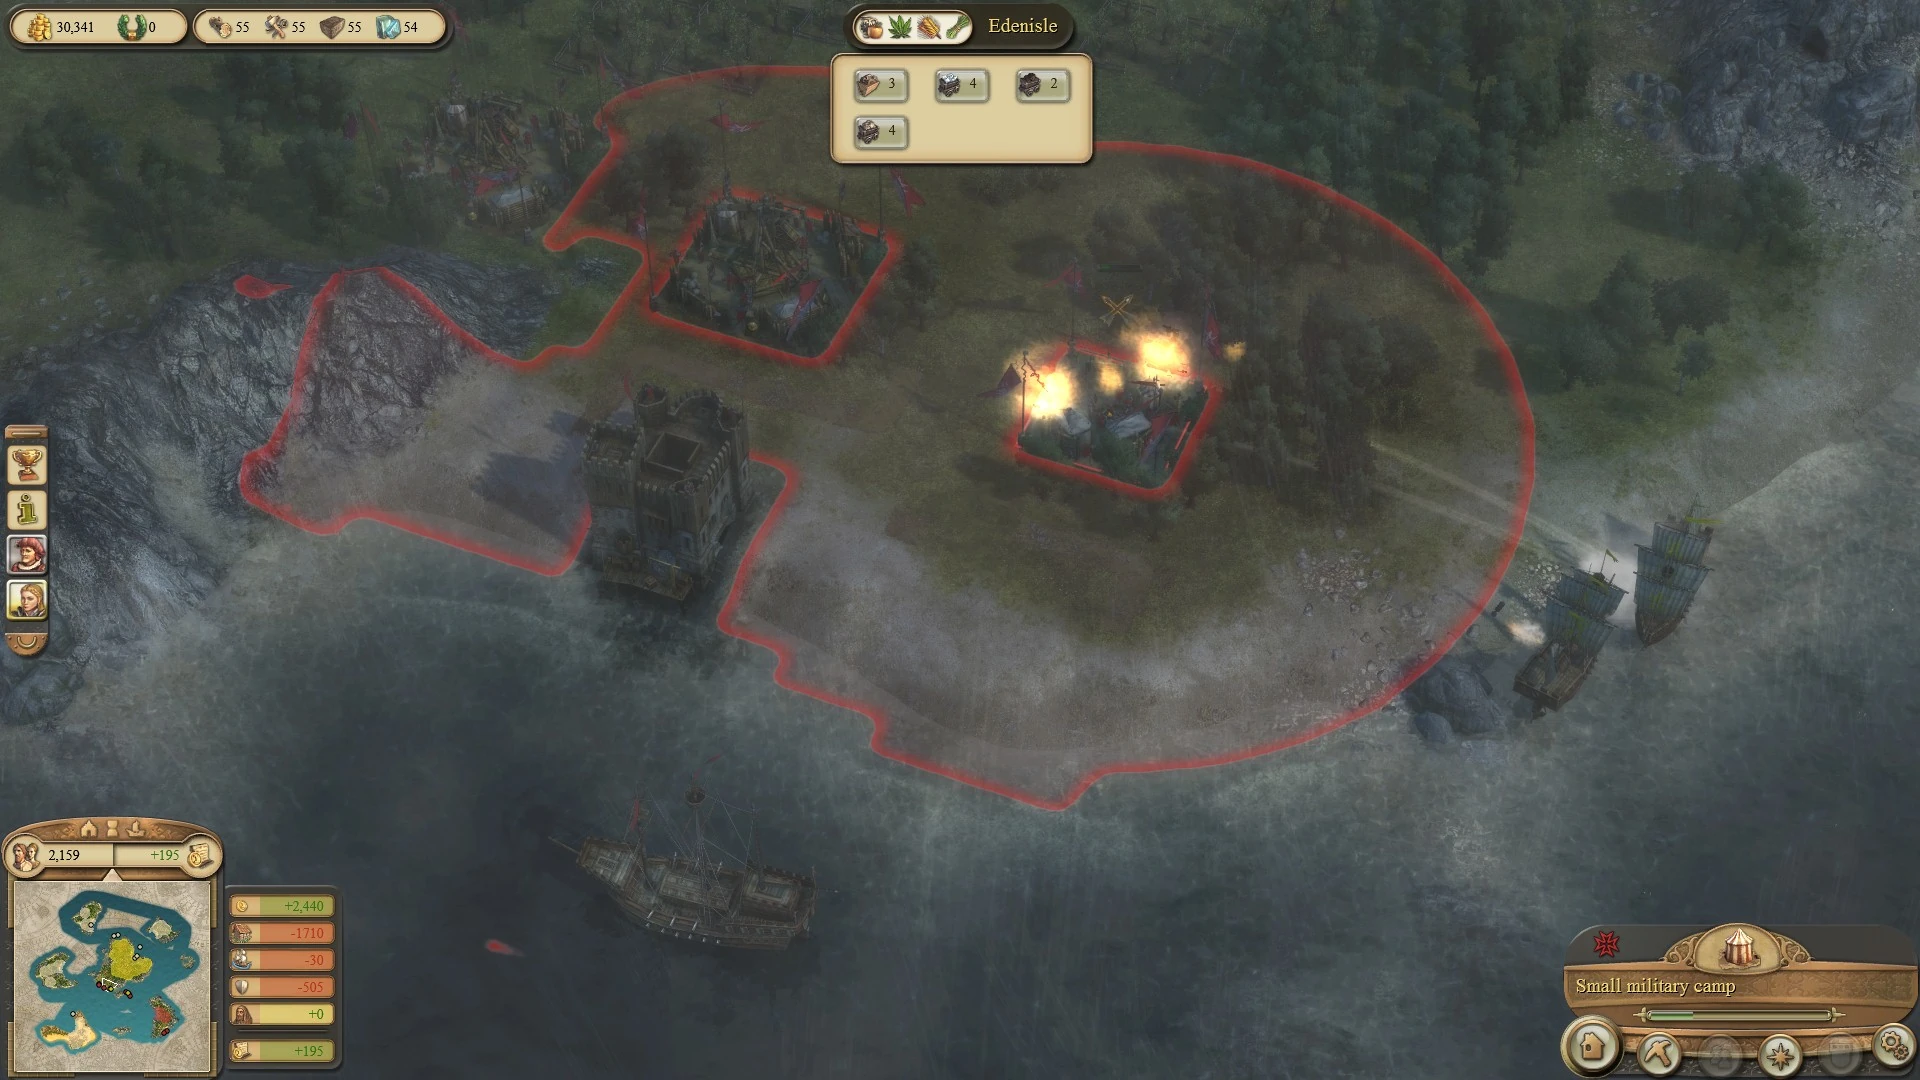
At this point, the quest ‘Defence from above’ should be active by now and the 3 additional towers need to be built on Edenisle. For a detailed explanation in how to place and make use of these towers effectively, see the section ‘Getting ready’ of this guide.

Keep any towers out of its influence range!
Do not place more than 3 towers, since also these military structures use up the military budget and it can prevent the production of military camps when the budget has reached its limit. Make sure that the towers may never be in the influence area of the Market building surrounded by Cider farms as seen on the screenshot! Whenever Kardinal Lucius gets control of this Market building, he will also be in control of any tower that is situated within its influence area and he will definitely make good use of them!
Getting ready[]
Now that everything is ready for the confrontation with Kardinal Lucius, start creating the necessary additional camps. There should now already be 2 camps on Edenisle, 1 from the quest ‘Command’ and 1 from the quest ‘Defending the homeland’. Even if this may not be so, make sure that Edenisle will see a total of 3 Small military camps, 3 Large military camps and 2 Trebuchet positions close to each other and all being situated north of the Cider Farms and around the 3 towers.
Mind, however, that not all of these camps have yet to exist when Kardinal Lucius attacks for the first time, so don’t haste with building lots of production chains as this will cost too much money and time! Especially during the 1st wave only 2 Small military camps are required and the other camp can even be built after the 2nd wave. The Large military camps will all be required after the 1st wave, but at least 2 of them can probably already be built before the 1st wave commences. Concerning the Trebuchet positions, each has to be built followed on respectively the 1st and 2nd wave, as Marie d’Artois will ask for 2 War machines workshops around this time.
With this strategy it isn’t even necessary to buy Large military camps from the robber baron Barnabas, because this requires Beer and it can better be spent on producing Provisions with.
Also, keep in mind that there is a certain order in which the military camps need to be positioned. Always have 2 Large military camps divided in between the 3 towers and the third behind the south most tower as shown on the screenshot. The Trebuchet positions should be located in between the 3 Large military camps to protect them from getting attacked easily, while they should have a supporting role for any camp that gets besieged. The 3 Small military camps should be spread up on the front side to fill up gaps between the camps and will act as ‘shields’, because the enemy will be tricked in attacking them and find out that Large military camps, towers and Trebuchet positions will give them a very hard time!
A vital strategy against Lucius' waves!
Note that when 3 spies are being seen in Edenisle, there will be a quest following on this in which 2 Miner positions need to be intercepted and destroyed. For this, it doesn’t matter if 2 Large military camps or 2 Small military camps have to solve this problem; the strategy against Kardinal Lucius’ waves will still work.
Getting angry[]
By now, those 15 minutes may have passed and Kardinal Lucius will set sail towards Edenisle with his 3 Large warships and 3 Small transport boats. After building the Castle and landing the 2 Small military camps he will start attacking the Market buildings close by. Not only Marie d’Artois will be furious about this! Hold positions though! A good strategy is to always hold and maintain a defensive stand against Kardinal Lucius’ troops and wait for them to start marching inland causing havoc to Edenisle. It will be a matter of time before he starts to overrun the Cider farms and Hemp plantations. Don’t stop him though! It may sound strange, but with the Cider farms and the Hemp plantations destroyed Marie d’Artois will ask through quests to build new Cider farms and Hemp plantations, something that may otherwise not happen and this automatically causes missing out these quests and some valuable Campaign points. After these buildings have been destroyed, Kardinal Lucius will attack any encampment in sight. During the 2nd wave, the same will have to happen with the harbor.
Now that the military camps and trebuchet positions have been placed correctly, await Lucius to attack the camps. Any military camp that gets besieged should be supported by at least 1 military camp, a tower and 1 trebuchet position (supporting a camp can be done by selecting another camp and let it interact with the besieged camp). The remaining camps should attack the enemy camp(s). This way the attacking enemy camps will suffer twice as much damage. Also, no military camp will get destroyed as there will be a fine selection of support and the enemy will have a hard time fighting in unfriendly territory if they get besieged by multiple towers and trebuchet positions.
When the enemy attacks the encampments, the 2 or 3 towers can most likely besiege them by now so let all the remaining military camps fall out on the enemy! Even on Hard, this first attack is easily repelled and considered done! Only for this mission it is required that all enemy camps have to be destroyed. Kardinal Lucius will know who he’s messing with...
Getting victorious[]
Well, not yet. Unfortunately, Kardinal Lucius will land his troops for at least 3 more times on the shore of Edenisle with every wave he will be introducing more camps on the island, before Marie d'Artois will provide the quest 'A glimmer of hope' to get everyone safely away from Kardinal Lucius. Now that there is time in between the attacks, make sure that the production of Linen garments and Beer are still secured and start producing Provisions for the troops. Probably Marie d’Artois will also start asking for it around this time.

Safe support from sea.
Note that when an enemy encampment has suffered approximately 75% of its health it will try to withdraw back to the castle where it came ashore, so it can revitalize. Make use of this and have at least 2 flagships located north of the rock that sticks out of the water as seen on the screenshot. This way the flagship can bombard and destroy the withdrawing enemy camps that come too close to shore while there will be no confrontation with both Kardinal Lucius’ warships and his castle.
Getting done[]
With these tactics explained and preparations made, it is easy now to maintain the upper hand against the incoming and attacking waves of Kardinal Lucius' troops. There will be no worries now for losing any Military camp or missing out quests and this Chapter can be finished completely and without losing any Military camps when completing this chapter on Hard difficulty, the achievement 'Man the battlements!' is awarded and earned as well! A job well done...
- Click here to go back to the main Chapter 6 walkthrough page.